Starting our .NET Core WebAPI Journey – Step 3
Learning is a process and I needed to learn that these
guides should be smaller. That was
clearly evident to me in our last guide.
I’m going to attempt to make this guide smaller. While in step 2, we wrote all of the class
library, in this guide, I’m only going to focus on the Log WebAPI
Controller. We’ll add the email queue
controller in a future guide.
In this guide, we will
·
Create our WebAPI Project
·
Code the Log WebAPI Controller
·
Configure the Service
·
Test the Service through PostMan
Creating the WebAPI Project
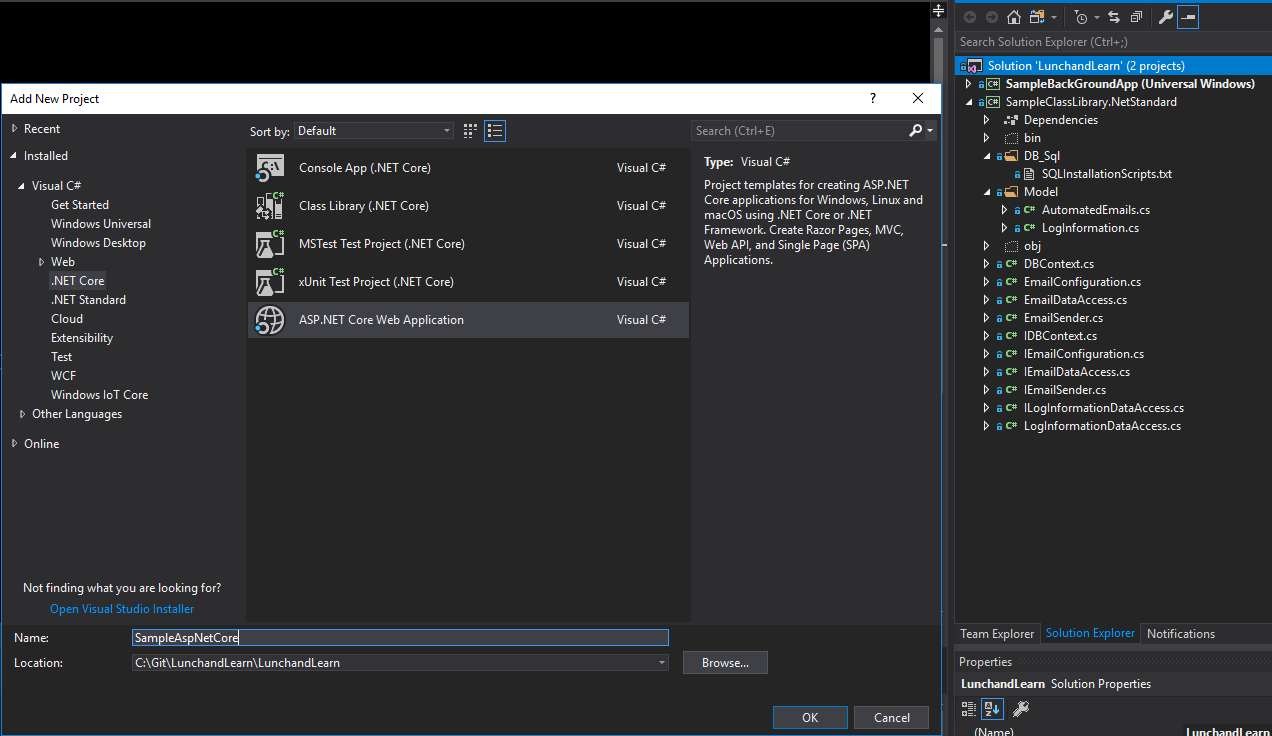
Open up the solution that you initially created the class
library. In my example below, I have my
LunchandLearn solution opened. Click on Add--> New Project. Select the .NET Core template area and select to create a ASP.NET Core Web Application. Below I’m naming this SampleAspNetCore.
Click OK and you then have a few different .NET Core project
templates to choose from. Make sure you
are creating a ASP.NET Core 2.0 Solution.
Select the API project template.
In my example, I have also Enabled Docker Support. Before you use this option, visit Docker for
the installation instructions: https://docs.docker.com/docker-for-windows/install/.

Once you create the solution, you will see the website
created as well as the docker components installed.

By default, the sample website solution creates a WebAPI
controller with the normal API verbs (GET, PUT, POST, DELETE). I have used this sample controller as a
“template” previously but below we’ll touch on different approaches as well.

Before we start adding additional logic to our solution, run
the solution to make sure everything is configured and setup properly on your
computer. Run the solution and then in
IE/Chrome, you can hit the Values controller and see the default response being
returned. In the testing of our services,
we will use Postman which makes testing services very easy.

Coding the WebAPI Service
Everyone seems to be writing services and WebAPI
(Application Programming Interface) these days.
It’s a huge buzz word and
one that everyone wants on their resume.
This is not really new either so I suspect you’ve been writing them
already. The sample controller that Microsoft puts into its solution works but
it may not show you the best approach to writing services. Do you return every response the same? Why does the ValuesController in the sample
return some with a List, some a string, and others with Void? If you are familiar with WebAPI, you may already
know the service can return different status codes to represent different
responses. With these response types,
what are you returning? There are
multiple response codes and I’m guilty of writing them wrong. In attempting to
#LearnGrowShare, I had initially started to watch a Pluralsight course on Building a RESTful API with ASP.NET Core https://app.pluralsight.com/library/courses/asp-dot-net-core-restful-api-building/table-of-contents. While I haven’t finished this entire course,
I started to get exposed to the different codes and my lack of knowledge on
best API practices. Microsoft’s
documentation here https://docs.microsoft.com/en-us/aspnet/web-api/overview/getting-started-with-aspnet-web-api/action-results
goes more into the different way to response from your services. Since there are so many different ways to
respond, I wasn’t fully aware how Microsoft handled some of these cases until I
found this article https://www.exceptionnotfound.net/http-status-codes-in-asp-net-web-api-a-guided-tour/.
As you can see, it’s all a learning process and I’m still
growing in this area. In this guide,
we’ll continue to work on creating a proper WebAPI call with appropriate
response codes as needed.
Let’s start with our Log Controller. Right click on the Controller folder and
select Add -> Controller. In my example, we’re going to select the API Controller with Read/write Actions. This will be helpful so you can see the
default methods but we’re going to change them quite a bit.

Name the controller “LogController”
as we will be logging or reading from the log through this API.

Below is the sample controller created. As you can see, this is similar to the values
controller.

Before we change the GET API method, we need to include our
Business class into the solution to actually perform the entity framework data
access. Right click on Dependencies and select Add -> Reference. Select the business class project you created
in our Step 2 guide. Then click OK.

We can then complete the GET API method for our
service. I have added the GET logic into
the controller. Some of the work below
was in using dependency injection to pass our data access class into the
controller. Our methods now is set to return an IActionResult and we’re using
the OK response method to return a response status code of 200 with our list.

After completing this, there is one thing you might have
noticed which I actually dislike. The
list we are returning is the same definition as our Log object. In my personal
projects I typically create a DTO (Data Transfer Object) to represent the data
between the solutions. So, we’re going
to keep that consistency even though the DTO object will look basically the
same as our data access class.
In your solution, create a New Folder (Add -> New Folder) and name it Models. Then right click on
that folder and select Add -> Class. Name the class LogInformationDTO.cs.

Create this LogInforamtionDTO object to match your
LogInformation in your business layer.
It doesn’t have to match so maybe in the future we’ll do one that is
unique and different from our business layer.

To convert the objects between the data access to the DTO,
we will use Automapper. Right click on Dependencies
and select Manage Nuget Packages. From the browse option, select to install the
following Nuget package. You will see it
is compatible with .NET Standard and used for ASP.NET Core in the Description. Click Install.
·
AutoMapper.Extensions.Microsoft.DependencyInjection

Once AutoMapper is installed, you can convert the objects
and return a List of your DTO objects.

Once the GET method is coded, we
can complete our GET one and Post (i.e. Insert) methods. I have used different return statuses to help
the user understand what might have happened when calling these methods. For example, we use the NotFound() and
Created() status codes in these examples.

Configuring the Service
That would be great if that was it, but we still have few
last configurations to make with the dependency injection, the AutoMapper and
our database connection. If you run the
solution, you will see error and there is a line about DepenencyInjection in
the error.

Below are the enhancements we need to make to the Startup.cs
file to configure it for dependency injection, the database connection as well
as to enable AutoMapper. If you are
want to learn more about dependency injection with .NET core, Microsoft’s
website is very good. https://docs.microsoft.com/en-us/aspnet/core/fundamentals/dependency-injection?view=aspnetcore-2.1 In the example below, we are getting the connection
string from our application settings file.
We will configure that next.

In order to setup the database connection, open your appsettings.json
file and add a new ConnectionStrings section and name it
DefaultConnection. That is what we had
set above. You can change it if you
prefer or if you have more than one connection string in your solution.

Test Service through Postman
The last component this guide will touch on is testing out
your new WebAPI service. I typically use PostMan to test as its easy to use and
very configurable. If you don’t have PostMan on your computer, you can download
it here: https://www.getpostman.com/
Make sure your start up application is set to the
SampleAspNetCore application and you can run it. You can run it either through IIS Express or as
a console application. To change it to run as a console, you can change the dropdown
on the run options.
After running the application a tab on your browser should
open to a particular controller. By default,
the Values controller will run in my computer and it opens up with IE. If you prefer to have another controller open
up, you can change the Properties -> launchSettings.json
file. In this file, you can see the launchUrl
is set to “api/values”.
Change the URL in your brower to http://localhost:58398/api/Log ( use
your port number if different ) and you will see nothing is returned. This is because we have not inserted something
into the Log database tables yet.

Let’s start to use Postman to perform the Log API methods.
Start Postman and copy in the Log URL.
Next you will want to change the method to a POST operation. Go to the Body section and change your data format
as Raw – JSON and paste in the data we are going to post to the Server. You can hit Send.

Example
data:
{
"product": "Postman
Test",
"type": "Error",
"method": "Test
Method",
"class": "None",
"message":
"Message",
"source": "Source"
}
Your
response should look something like the image below. You may remember our
response from the POST method was using the Create result base method. We are sending back to the Client the object
that was created. The status should also
be a 201 Created and if you look at the header values, the location property will
give the url to get back this individual record (i.e. location →/api/Log/3).

You can confirm the data is in the database by querying it
from your SQL Server instance.

Now that we have a record in the database, lets change
postman to perform a GET with our Log API service to get all of the
records. Change the Method over to a GET
and hit Send again. You will see all of
the records returned.

In order to retrieve just one record, add the ID of the record
onto the End of the API URL. For example, here we are retrieving just the Log
Record for the ID with a 3.

You can also attempt to retrieve something that doesn’t
exist (i.e. http://localhost:58399/api/Log/567
) and you will see a response status of 404 Not Found. This was because we returned this status when
we cannot find that record in our system (i.e. return NotFound(); )
A working .NET Core WebAPI Service
That is it to have a working .NET WebAPI service. You should have the basics done. We’re going to continue to journey and finish
our EmailQueue services so keep on #LearnGrowShare.
As always…. please send me feedback. We’re all on this #LearnGrowShare journey
together so if you see something that would help our journey together please
speak up. We’re only as good as our
experiences so look forward to you helping to make me a better software
Developer/Engineer.

Comments